With 26 Blend Modes on offer, there are plenty of effects to experiment with. Here’s what each mode does...
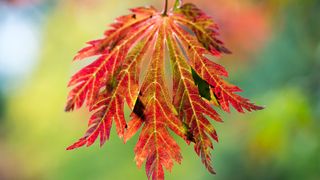
Photoshop Blend Modes give you the power to combine
layers and images for a huge variety of effects. Read on
to learn how these Photoshop effects work, and discover
some of the wonderful things you can do with them...
01. Dissolve
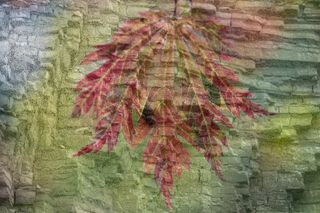
Creates a pixelated blend, the effects of which only become
apparent when you begin to lower layer opacity (50% here).
apparent when you begin to lower layer opacity (50% here).
02. Darken
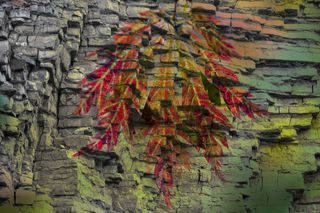
Lighter pixels on the top layer are replaced by the colours
and tones from the layer below, while darker pixels remain
unchanged.
and tones from the layer below, while darker pixels remain
unchanged.
03. Multiply
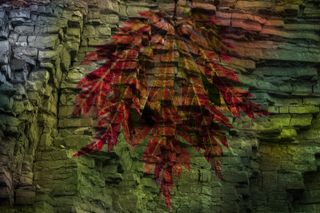
Multiplies colours in the layer with those below. Colours on
the top layer that are lighter are replaced with those on the
lower layer.
the top layer that are lighter are replaced with those on the
lower layer.
04. Color Burn
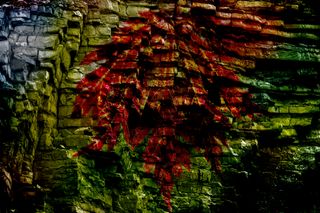
Increases the contrast between each layer. Light pixels on
the top layer don’t affect the colours and tones on the layer below.
the top layer don’t affect the colours and tones on the layer below.
05. Linear Burn
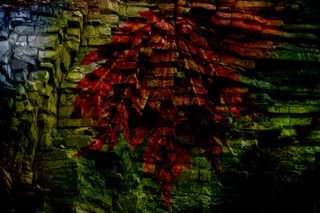
Lowers the brightness of layers below to reflect the colours
of the top layer. Lighter pixels on the top layer produce no change.
of the top layer. Lighter pixels on the top layer produce no change.
06. Darker Color
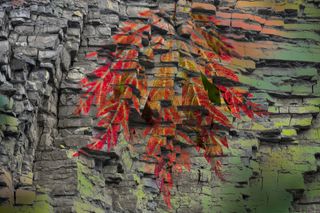
Selects either the top layer’s colour or those on the layer
below – whichever is darker – as the resulting colours.
below – whichever is darker – as the resulting colours.
07. Lighten
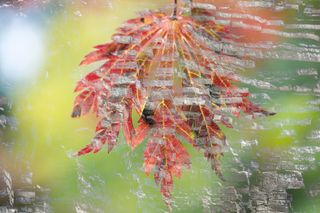
The opposite of Darken. Any colours on the top layer that
are lighter than the colours underneath will remain visible.
are lighter than the colours underneath will remain visible.
08. Screen
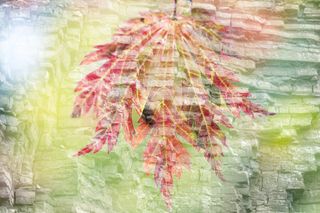
The opposite of Multiply. Works out the inverse of the
layer’s colours and multiplies it with those on the layer below.
layer’s colours and multiplies it with those on the layer below.
09. Color Dodge
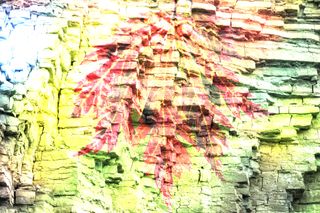
Causes lighter tones on the layer to create more vibrant
colours and increase contrast. Darker pixels make no difference.
colours and increase contrast. Darker pixels make no difference.
10. Linear Dodge (Add)
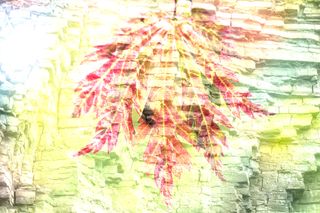
Similar to Colour Dodge and Screen Blend, but the
brightening is stronger. Dark colours make no changes
to the colours below.
brightening is stronger. Dark colours make no changes
to the colours below.
11. Lighter Color
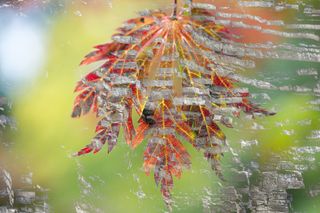
Compares the colour channel values with the layer below
and chooses the higher values to create the resulting colour.
and chooses the higher values to create the resulting colour.
12. Overlay
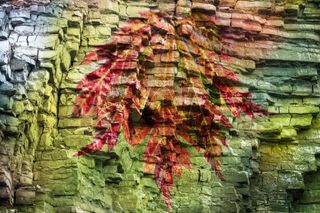
Provides a subtle way of adding a wash of the lower layer’s
colour to the top layer while preserving the lower layer’s detail.
colour to the top layer while preserving the lower layer’s detail.
13. Soft Light

Darkens or lightens the colours of the top layer, depending
on the colours of the layer underneath. Like Overlay, but more subtle.
on the colours of the layer underneath. Like Overlay, but more subtle.
14. Hard Light
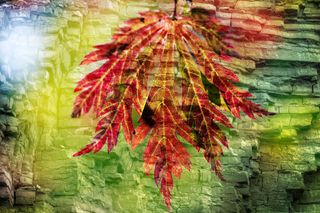
Multiplies or screens the colours, depending on the colours
of the layer underneath. Pixels lighter than 50% grey are lightened.
of the layer underneath. Pixels lighter than 50% grey are lightened.
15. Vivid Light
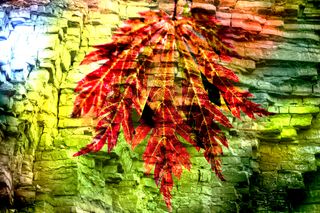
Lightens or darkens colours with more intensity than Soft
or Hard Light. If the layer is lighter than 50% grey, the
image is lightened.
or Hard Light. If the layer is lighter than 50% grey, the
image is lightened.
16. Linear Light
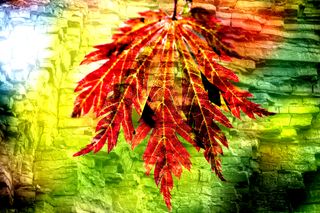
Like Vivid Light, but adjusts brightness rather than contrast.
If the layer is lighter than 50% grey, the image is lightened.
If the layer is lighter than 50% grey, the image is lightened.
17. Pin Light
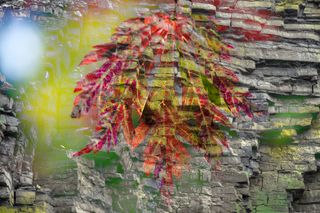
If a pixel on the layer is lighter than 50% grey and the pixels
below are darker, the top pixels are replaced by the ones below.
below are darker, the top pixels are replaced by the ones below.
18. Hard Mix
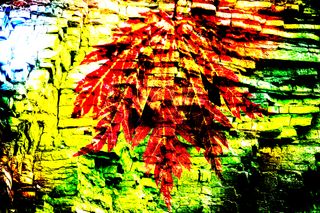
Adds the layer’s red, green and blue channel values to
those of the lower layer, changing the layer’s pixels to primary colours.
those of the lower layer, changing the layer’s pixels to primary colours.
19. Difference
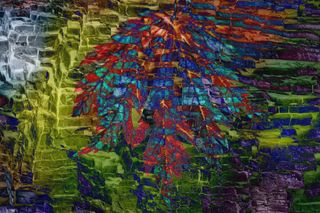
Lighter colours are inverted, and darker colours are
replaced by the pixels below. Blending with black makes no change.
replaced by the pixels below. Blending with black makes no change.
20. Exclusion
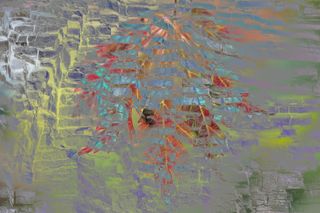
Like Difference, but with less contrast. Lighter colours
are inverted, and darker colours are replaced by the pixels below.
are inverted, and darker colours are replaced by the pixels below.
21. Subtract
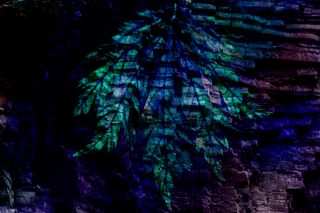
Studies the colours in each channel, then subtracts the
colours in the selected layer from the colours underneath.
colours in the selected layer from the colours underneath.
22. Divide
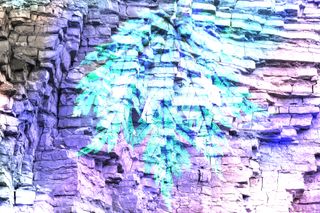
Examines the colours in each channel and divides the
top layer’s colours by the colours in the layer below.
top layer’s colours by the colours in the layer below.
23. Hue
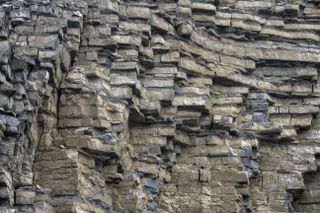
Mixes the layer colours with the luminance and saturation
of the layer below. So the colours remain, but saturation is reduced.
of the layer below. So the colours remain, but saturation is reduced.
24. Saturation
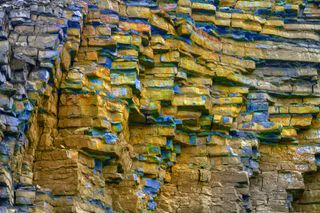
Combines the saturation values of the top layer’s colour
with the luminance and hue values of the colours on the layer below.
with the luminance and hue values of the colours on the layer below.
25. Color
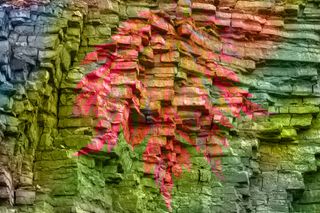
Similar to Hue, but mixes the hue and saturation of the
top layer’s colour with the luminance of the colours from the lower layer.
top layer’s colour with the luminance of the colours from the lower layer.
26. Luminosity
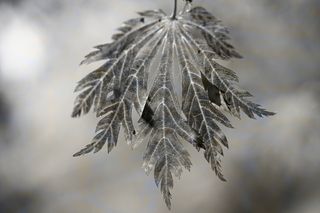
Mixes luminance with the hue and saturation of the layer
below; you see detail from the top layer and colour from below.
below; you see detail from the top layer and colour from below.


